
Getting Going with GitHub and WordPress
WordPress GitHub QuickStart
 Check Your YAML Before It Checks You
  The Long Road Ahead
  Python Support Has Arrived
Below is a step-by-step example of a standard WordPress site install with GitHub. This walkthrough does not use all the available parameters provided by the WordPress plugin, but you can see more available parameters in the Probo WordPress Plugin documentation.
You can find this Probo.CI example repository here.
You will need:
Step 1: Sign into the Probo Portal and authenticate GitHub.
Go to the Probo Portal and click on the Login to GitHub button. Once you get to GitHub, click ‘Authenticate application’.
Step 2: Sync your GitHub Repos.
Your GitHub repositories will be synced automatically. You can always click the ‘Sync Repos’ button at the top right corner if you need to manually update your dashboard. Click on the button next to each repo that you want to use with Probo.CI.
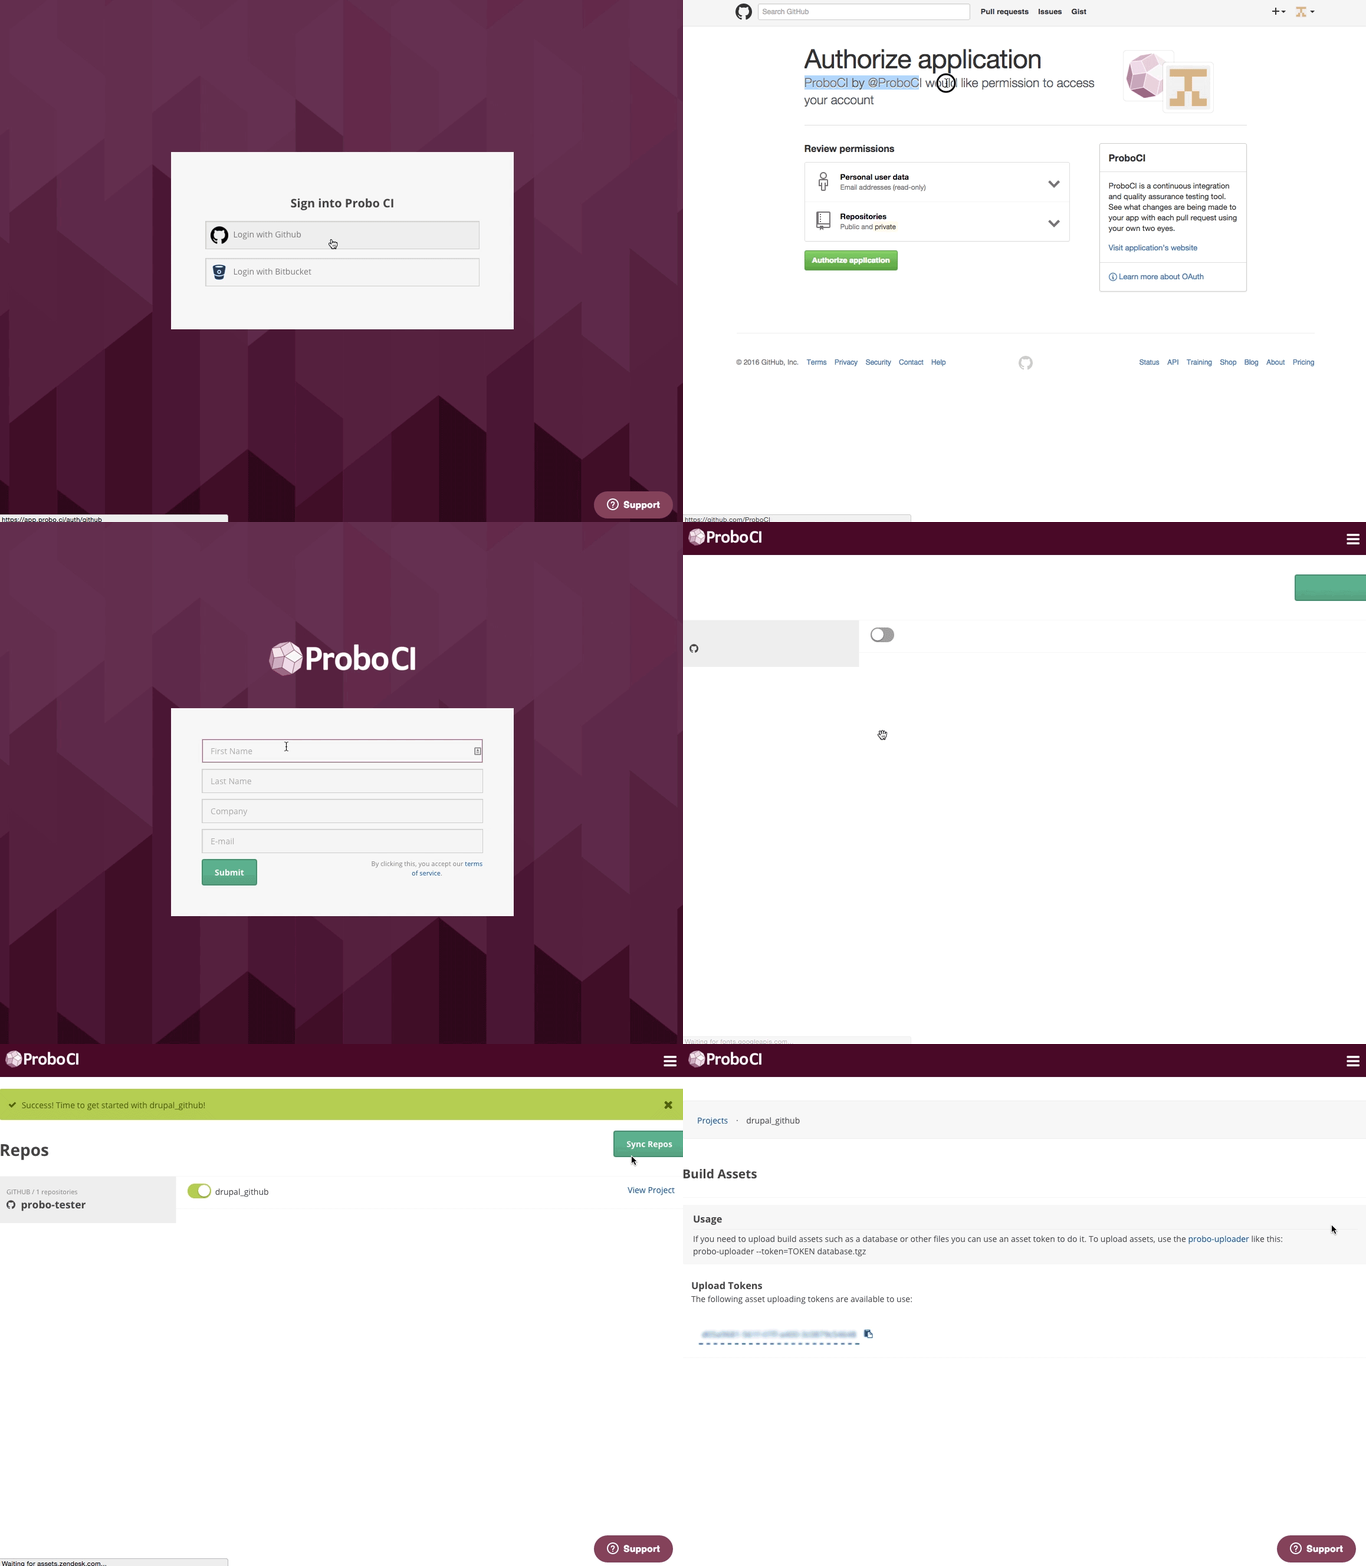
You will need to import your project’s database within the Probo.CI App, or use the Probo Uploader, a CLI tool. You will first import your database, then you will declare the database file in a .probo.yaml file. We will use the WordPress plugin to prepare the WordPress install, import the database, and flush caches. (Cache all the things!)
Step 3: Export your WordPress database.
There are a few ways to export your WordPress database into a wordpress.sql file:
1 | wp db export wordpress.sql |
mysqldump directly with the database credentials found in your wp-config.php file:1 | mysqldump -u [username] -p [database-name] > wordpress.sql |
Step 4: Compress your database.
If you wish to compress your database you’ll need to use gzip. Other compressed file types like zip won’t work.
1 | gzip wordpress.sql |
Step 5: Install the Probo Uploader on your machine with npm. (Optional)
You will need Node.js for the Probo.CI Uploader. Install node.js and npm if you don’t already have them.
1 | sudo npm install -g probo-uploader |
Alternatively, you can upload your database using the Probo Asset Receiver instead of the Probo Uploader. See the Assets documentation for all of the ways to upload assets for your builds.
Step 6: Upload your database to the Probo.CI app.
Each repository has its own Upload Token that can be used to upload file assets through the command line. You can find your project’s Upload Token on the Upload Tokens tab within the Probo project.
1 | probo-uploader --token=[your-token] wordpress.sql.gz |
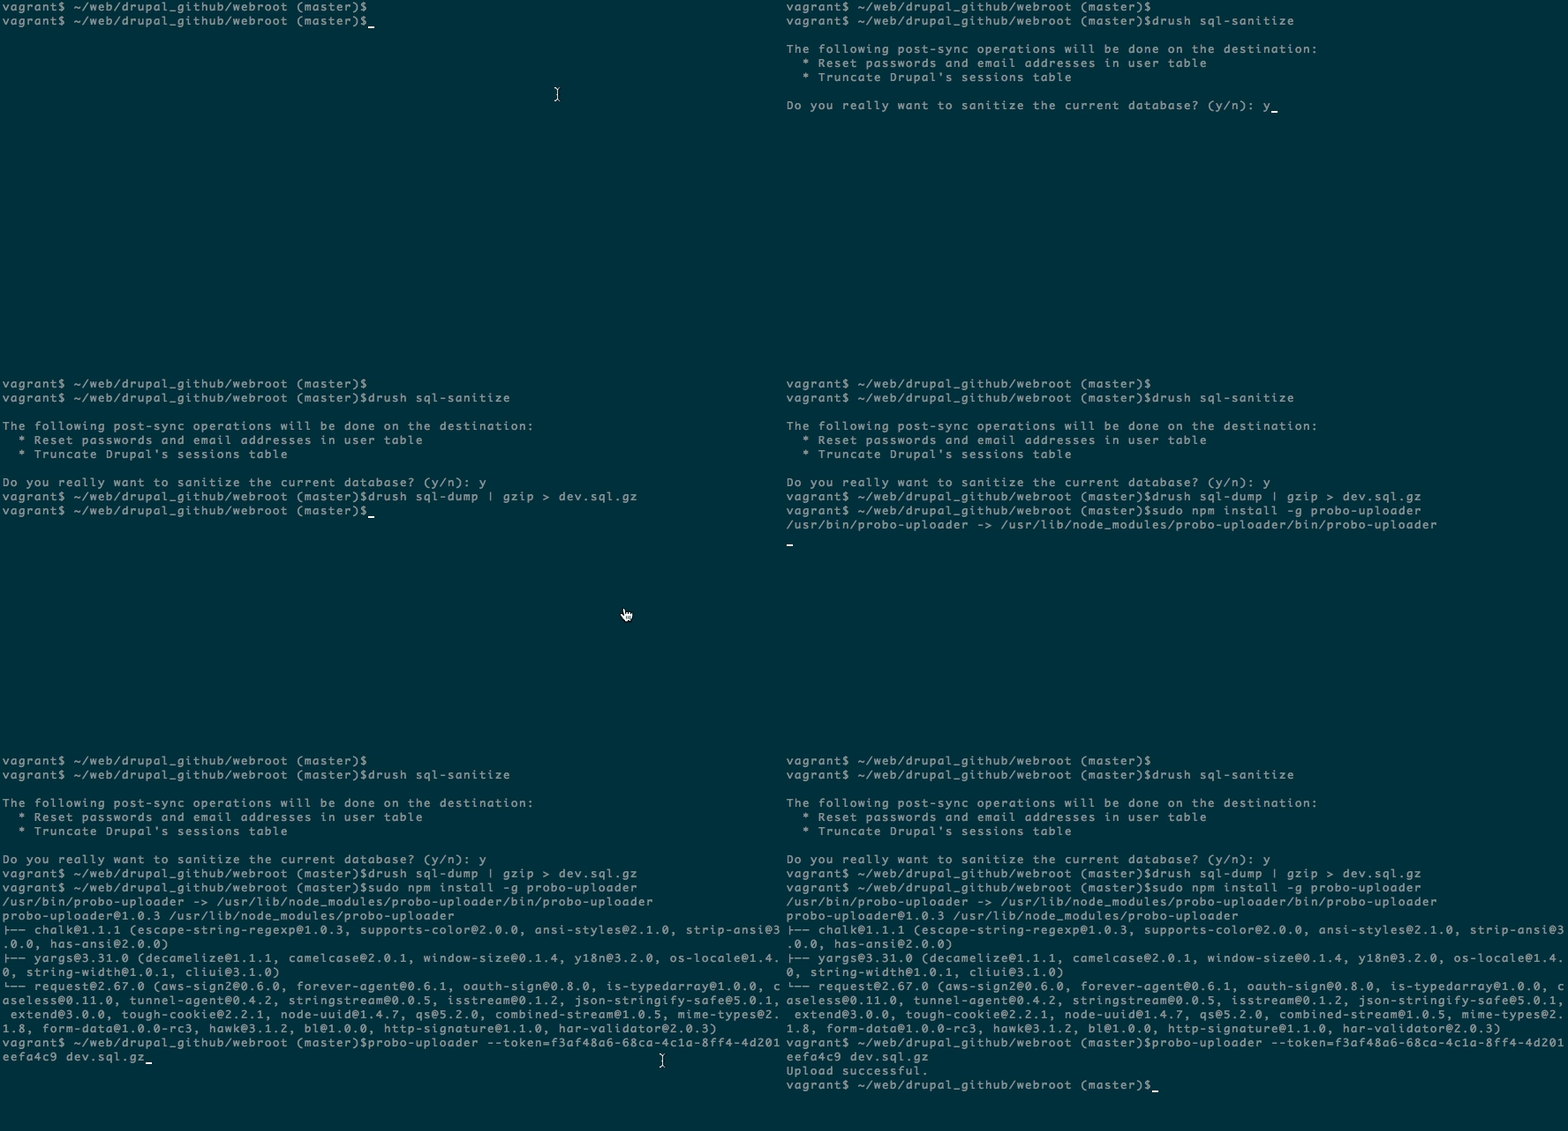
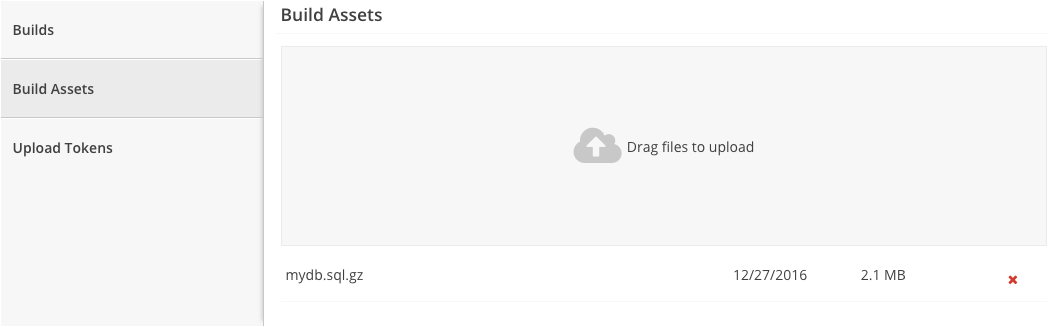
As an alternative to the Probo Uploader, you can upload your database through the Probo Asset Receiver. Navigate to your repository’s project page in the Probo Portal and click the Build Assets tab in the sidebar menu. There you will find a drag and drop interface to upload and manage your assets — no command line tools required.
The real magic of Probo CI is automating pull requests to create test environments for you. In order to do that, you will need to add a few things to your project.
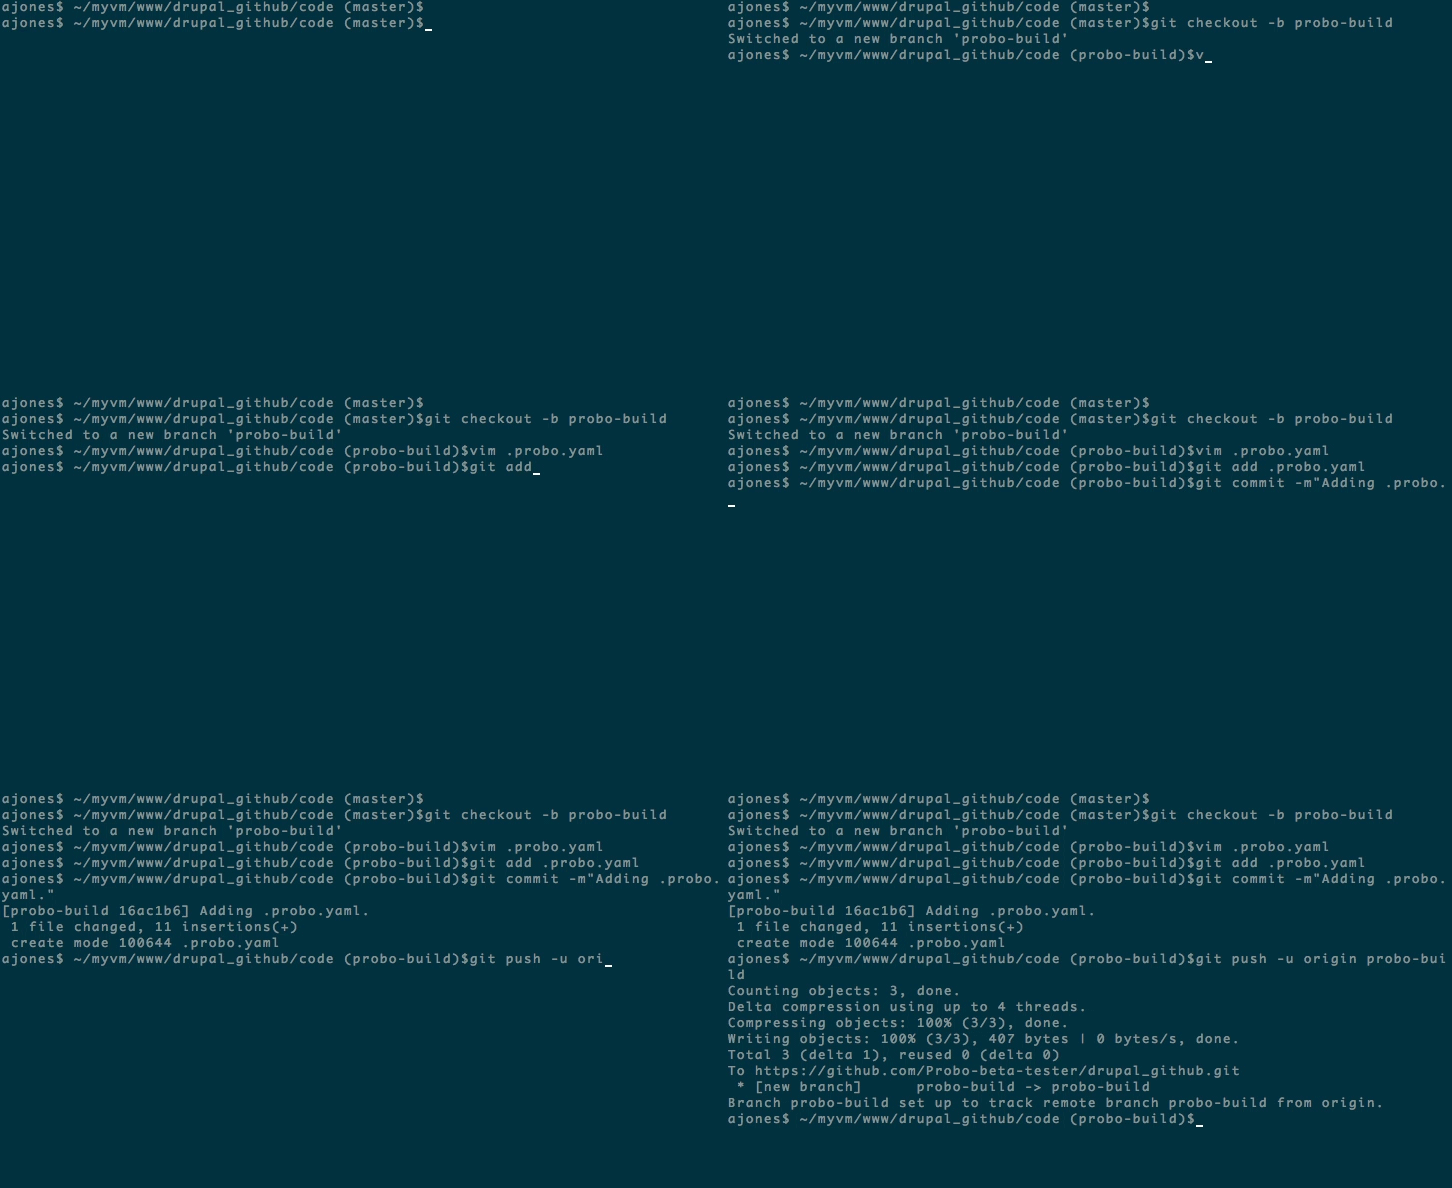
Step 7: Create a new branch.
cd into your project and create a new branch.
1 | git checkout -b probo-build |
Step 8: Create your .probo.yaml file.
You will need a .probo.yaml file in the root of your directory. You can task Probo CI to run any number of build steps. Each step is a runnable plugin, and will get a status update sent to hosted repository for the commit. * Remember that indentation and spacing is important for yaml files.
1 | vim .probo.yaml |
Step 9: Declare your assets and build your steps.
Tell Probo.CI what database you are going to use for your Probo.CI builds. Add in your parameters as steps. You can read more in the docs about different parameter options.
1 2 3 4 5 6 7 8 9 10 11 12 13 14 | type: lamp php: 8.4 database: mariadb:11.4 assets: - wordpress.sql.gz steps: - name: Site setup plugin: WordPressApp database: 'wordpress.sql.gz' databaseName: 'wordpress' databaseGzipped: true subDirectory: 'code' flushCaches: true |
Step 10: In your new branch probo-build, add and commit your files to your remote origin.
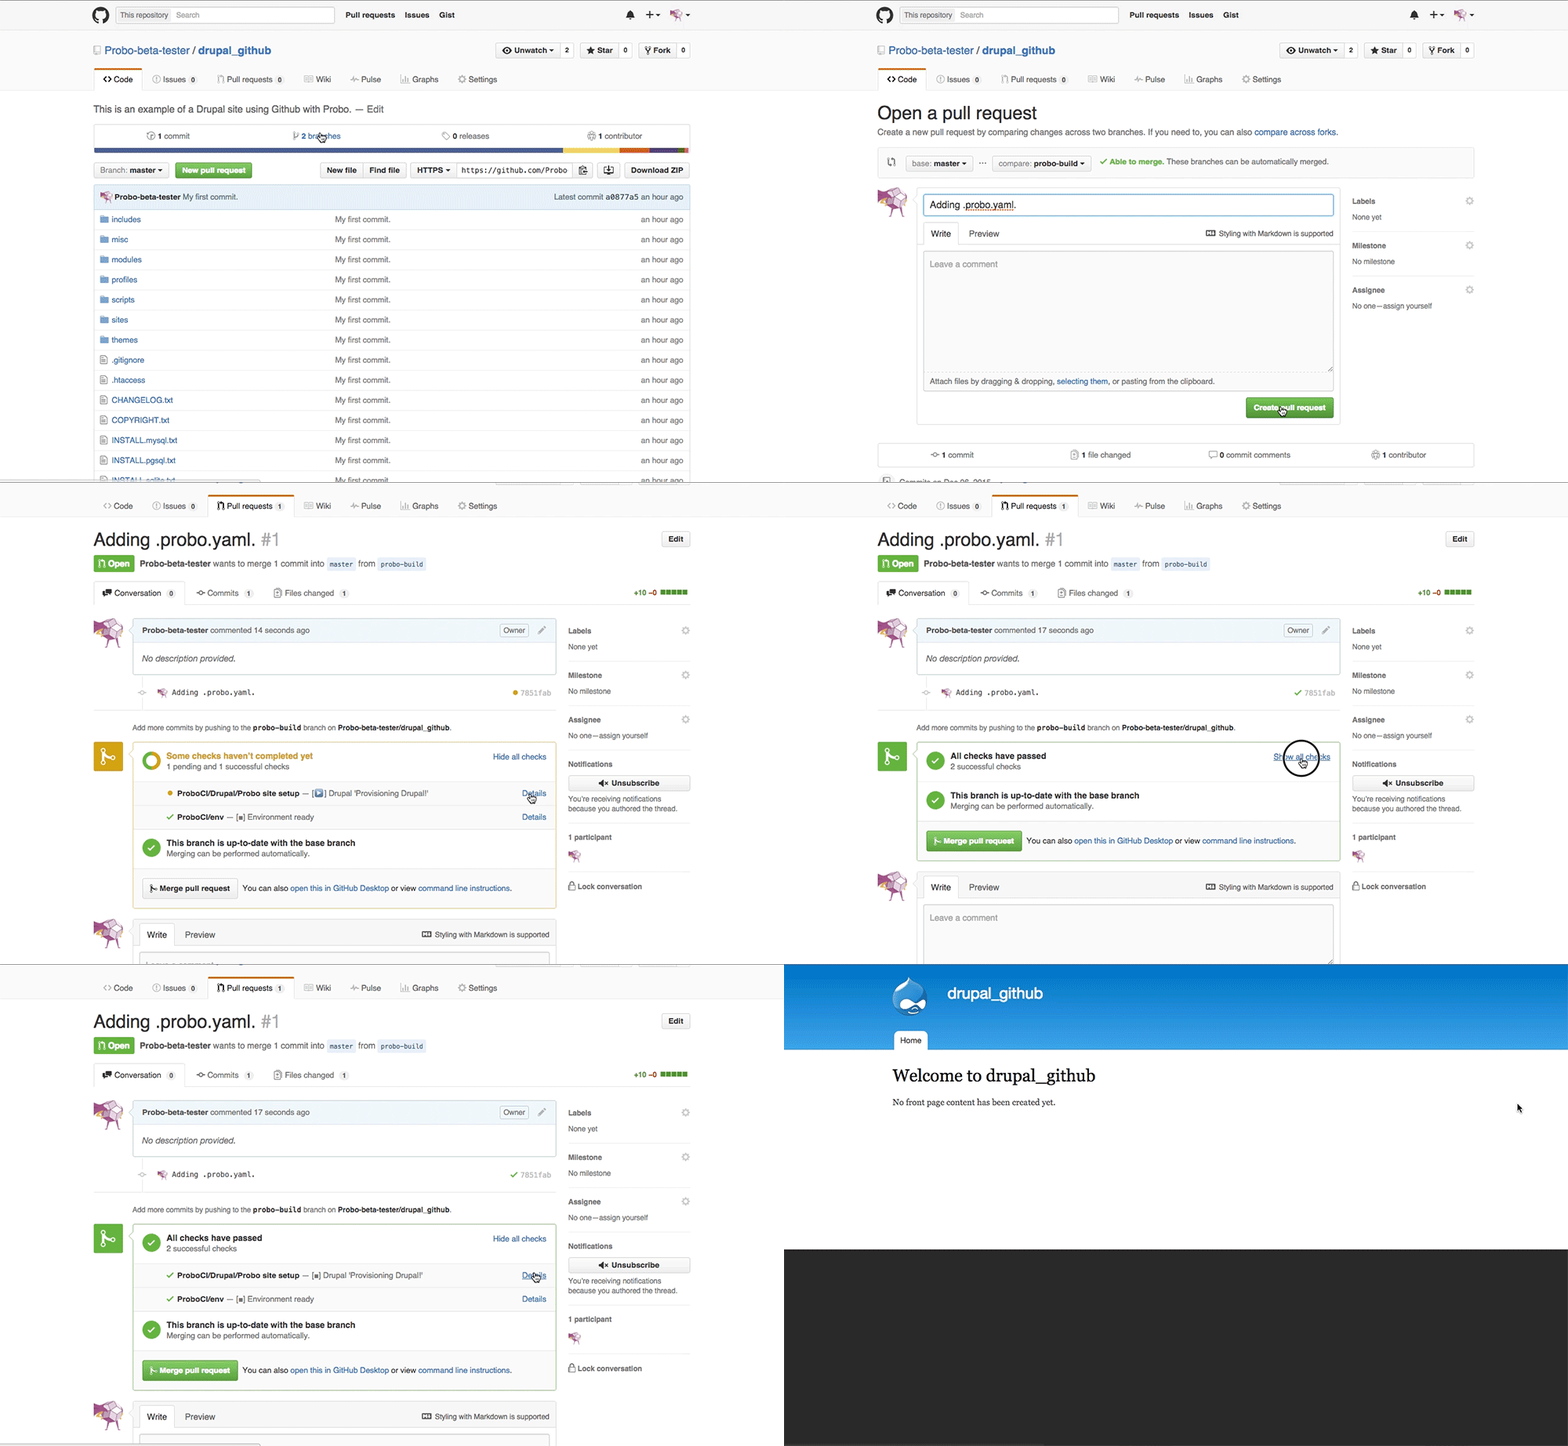
Step 11: Go to your GitHub account. You will see your new branch inside your project. https://github.com/Probo-Demos/probo-example-wordpress
Step 12: Create a pull request.
Click ‘New Pull Request’.
Step 13: Bask in the glory of Probo.CI.
In GitHub you will see the Probo.CI build steps. You can now click on any of the details links and it will direct you back to the Probo.CI dashboard.
Step 14: See your Probo.CI build.
In your Probo.CI dashboard, click on ‘View build’ and your site will open in a new tab. This Probo.build link uses the database defined in your .probo.yaml file and the code from your pull request.
Step 15: Share your Probo.build link with clients, managers, even your parents.
Note: It might take a few seconds for your Probo.CI environment to build. Wait until all checks have passed before following your Probo.build link.

When you sign up for a Probo.CI registration code, you will get a two week trial of the plan of your choosing. For more information on how to get started, click here .
LEARN MORE ABOUT PROBO.CI'S PRICING